Baptism Dress

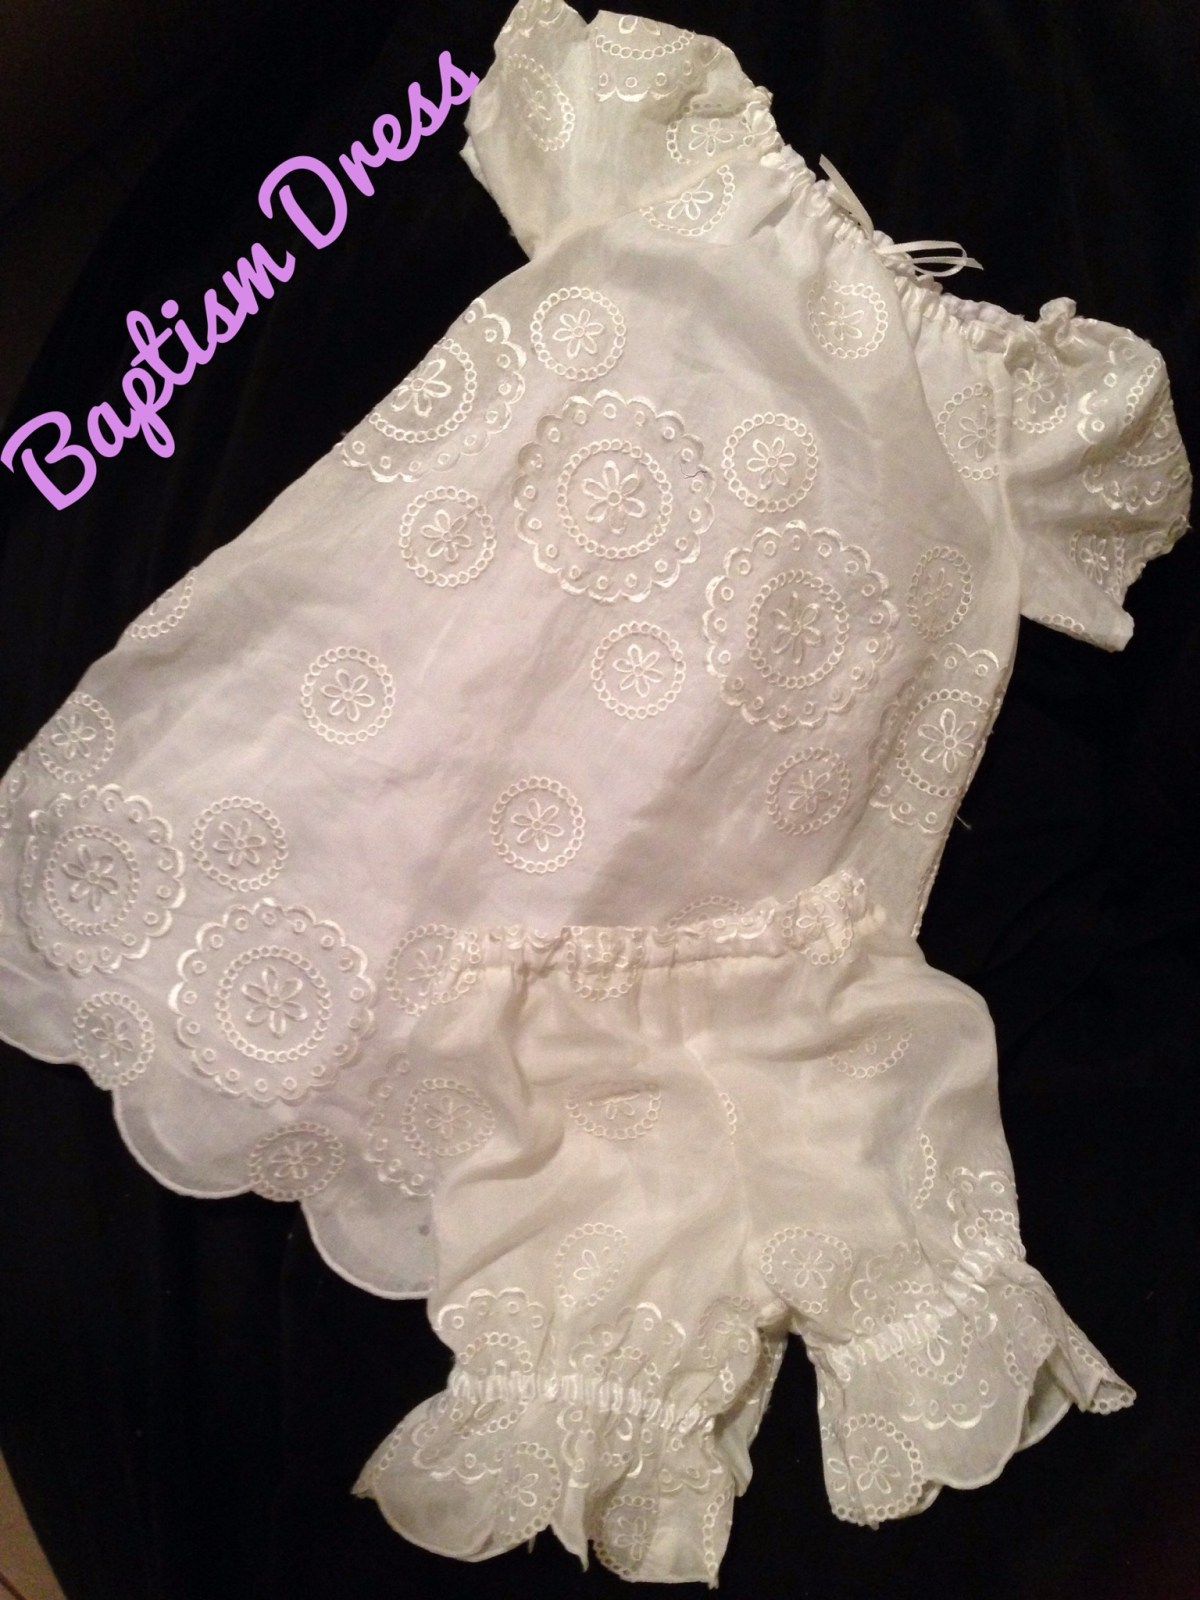
My daughter is going to be Baptised on November 2 and given that I am embarking on this sewing journey, I thought it would be nice if I made her dress for her. Nothing like a bit of a challenge!

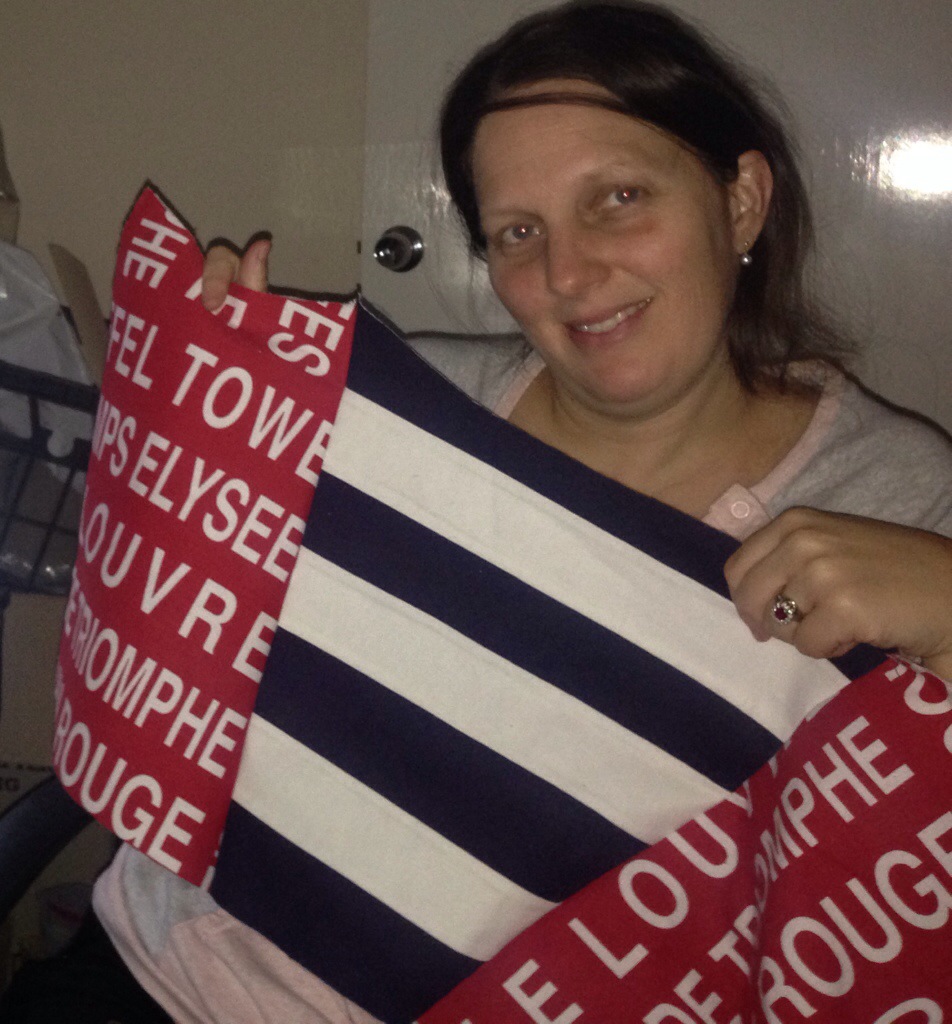
I thought that if I found some really nice fabric, I could probably find a pattern for something very plain and simple and let the fabric be the feature. I heard some chatter on a Facebook group that I am a member of called The Sewing Library about a nice little fabric wholesaler here in Perth that is open to the public called Potter Textiles. It isn’t far from home so I headed off to look for a nice Broderie Anglaise.

The fabric I found was a beautiful silk/cotton blend that should be fairly simple for a beginner to sew with but also should be really elegant in the finished product.

Next mission was to find a pattern. I asked for some advice on the aforementioned Facebook group and one of the suggestions that came back was for the Ginger Baby Plum Pudding Peasant Dress and Bloomers.

I didn’t want to waste my beautiful new fabric on any mistakes so I made a tester in some poplin that was on sale at Spotlight.
IMG_0009.JPG

A good start and it helped me to decide on the next size up as it was a bit tight around Baby Girl’s arms.

I took the fabric and pattern to my Saturday sewing class at the Janome centre in Balcatta and Kathy helped me to work on the pattern with the following modifications:

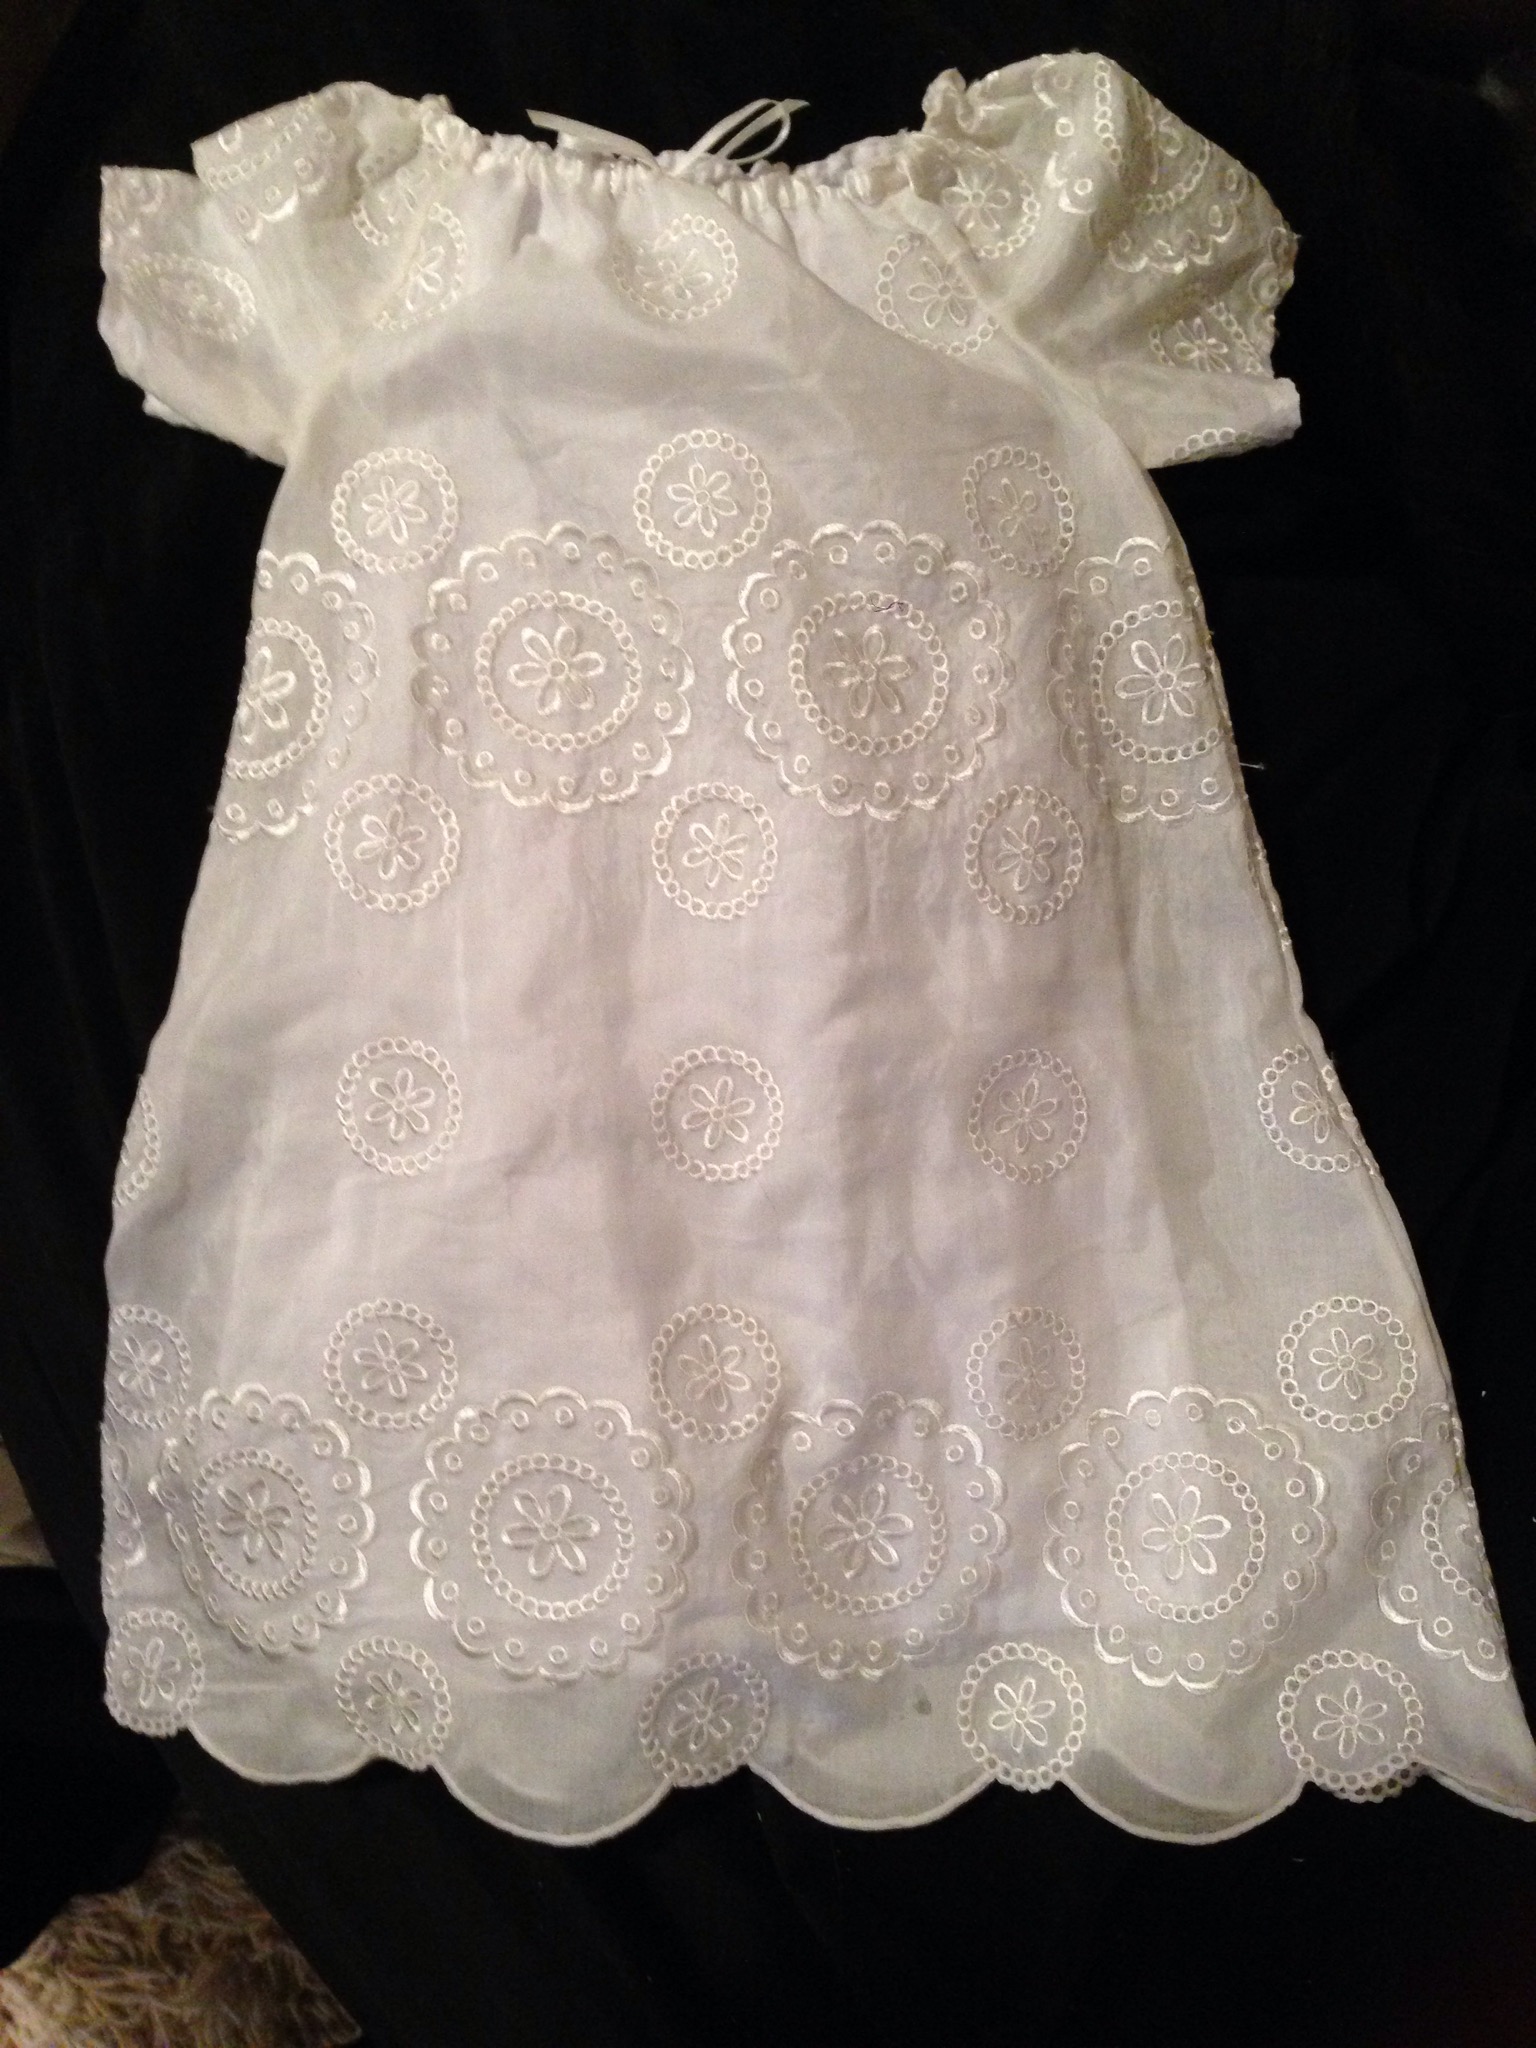
1. We lined the dress with cotton voile as my fancy fabrics is very thin and a bit transparent.
2. We didn’t put elastic in the sleeves because the fabric is so fine and transparent, we didn’t want to see the elastic through the casing.
3. We used ribbon instead of elastic around the neckline for the same reason as in point 2.
4. Instead of a normal folded hem, we used a satin stitch to join circle patterns on the fabric and then put Fray Stoppa on the fabric before cutting to give a scalloped hemline.

IMG_0256.JPG

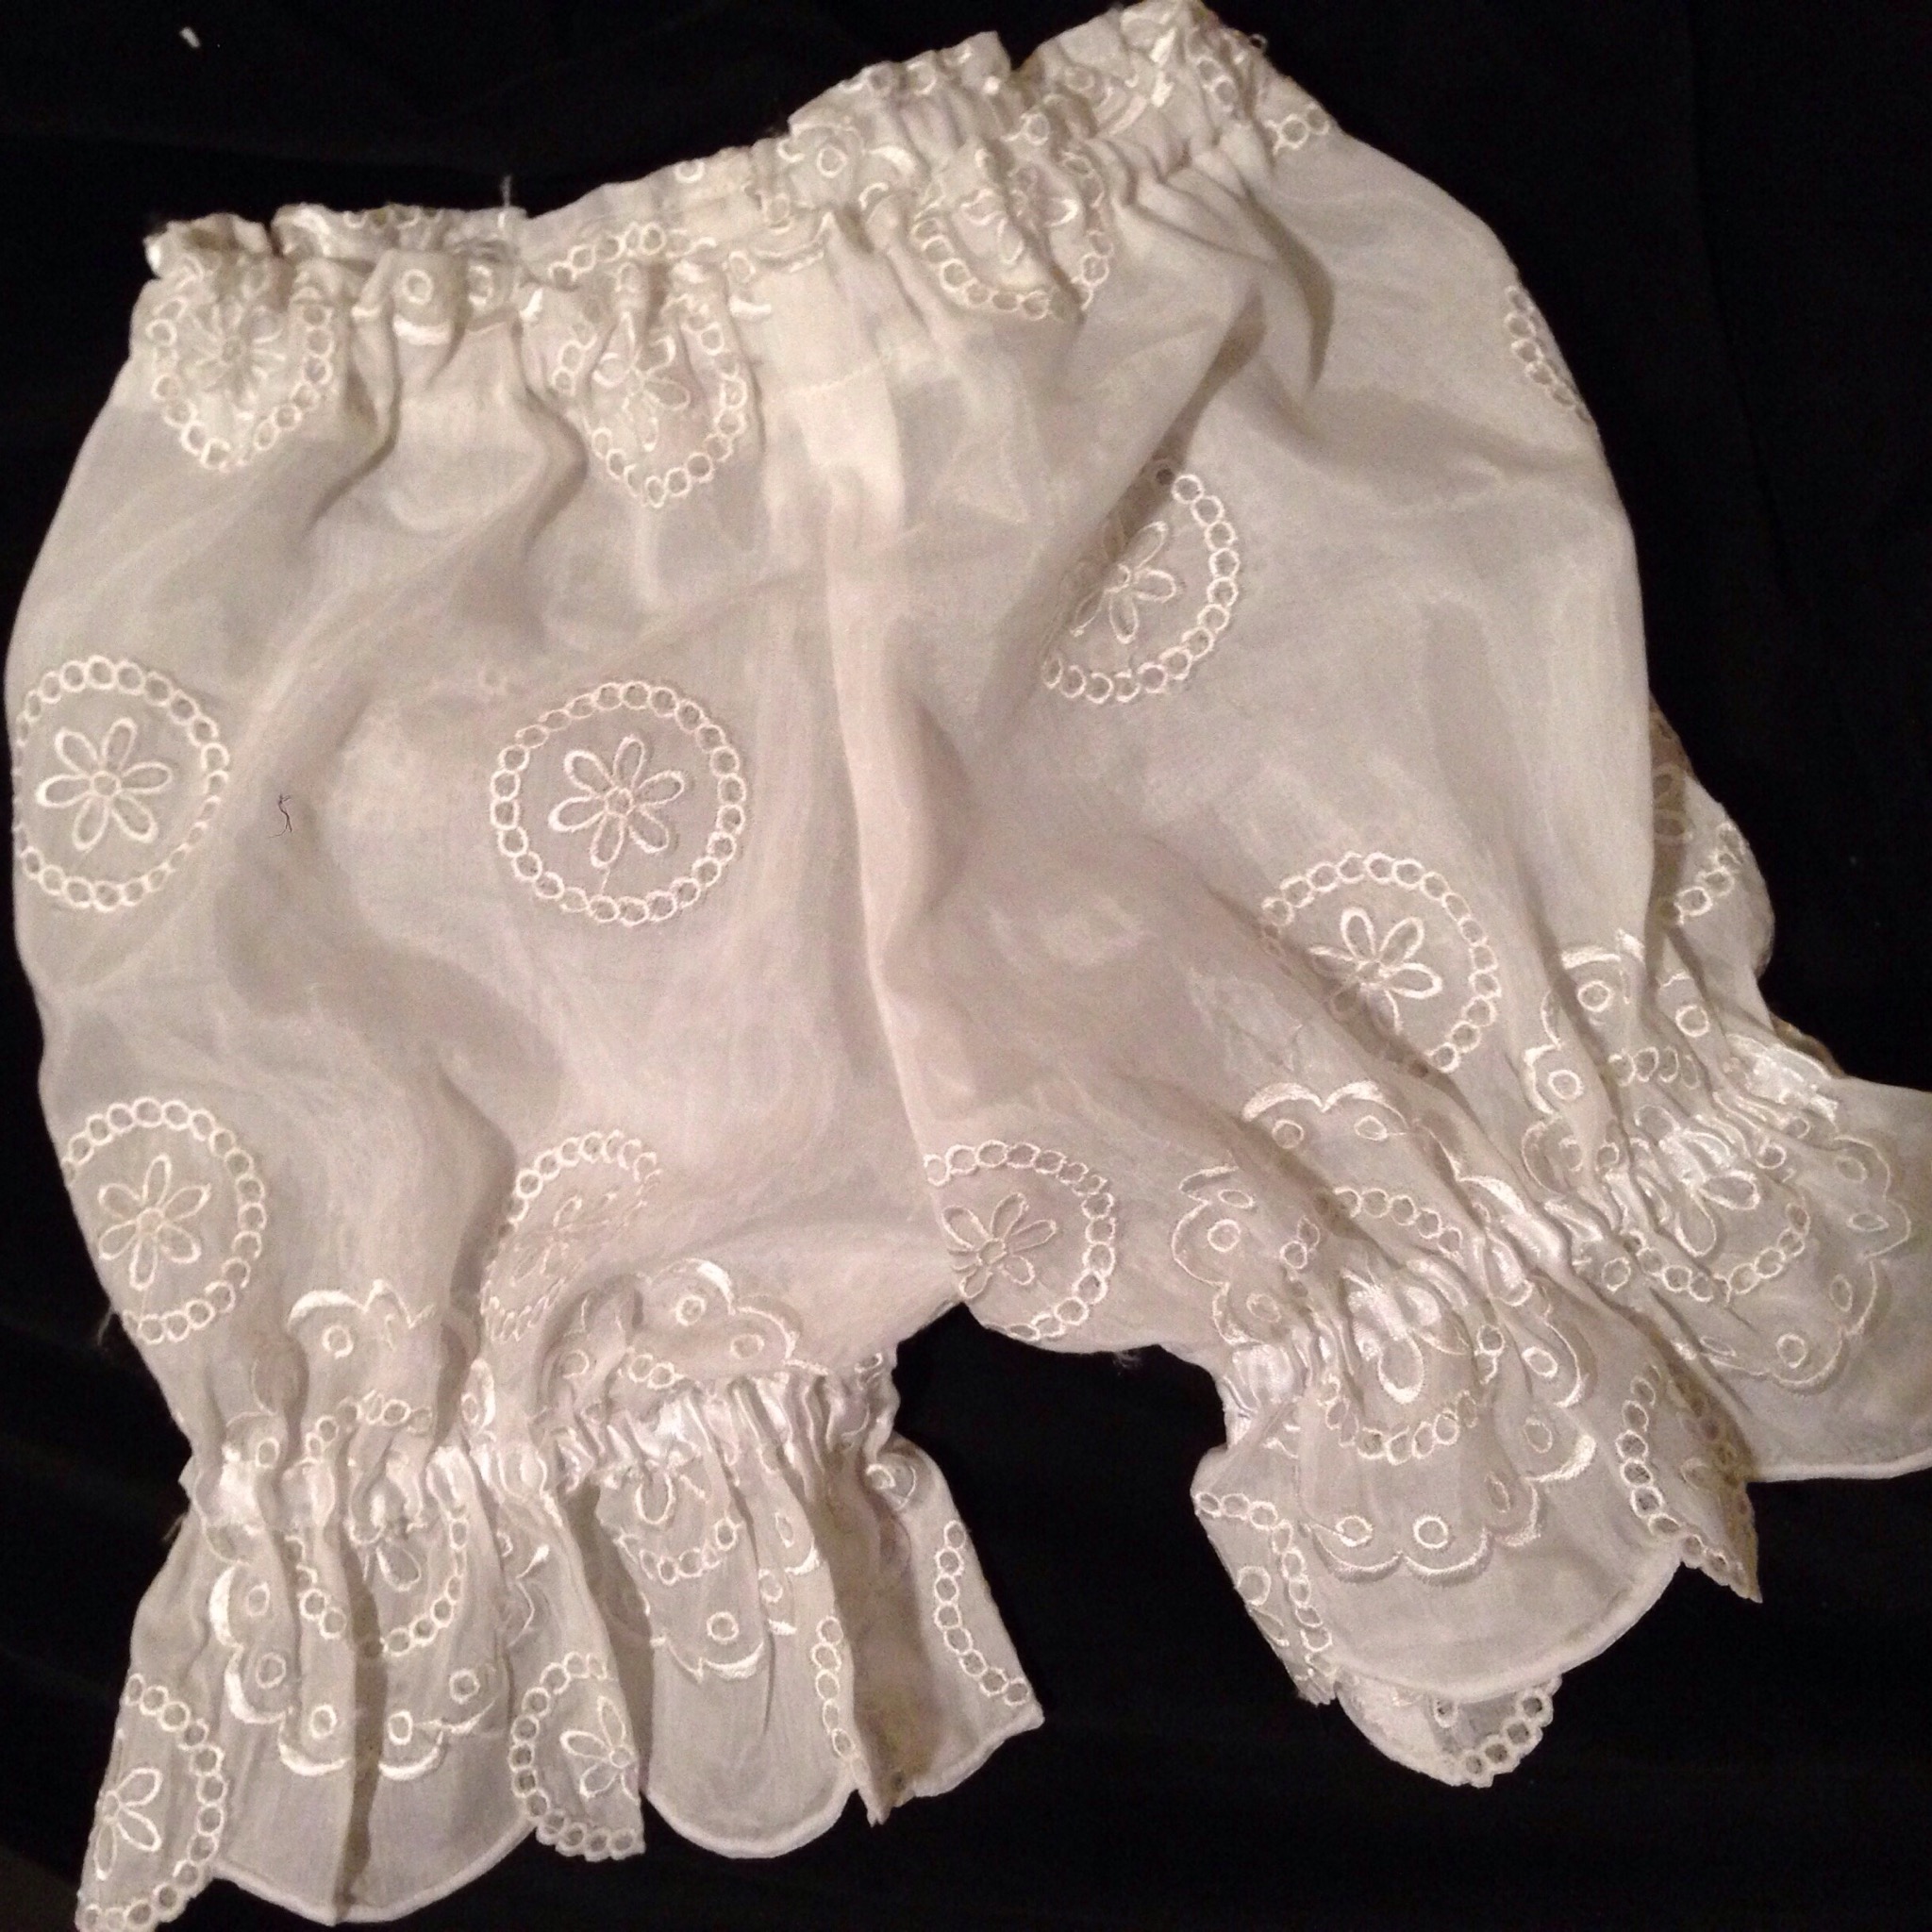
Next were the matching bloomers. I like them so much I just may have to make some myself with a matching camisole out of the same fabric as summer pyjamas.

IMG_0258.JPG

I will post some pictures of the big day when it happens!

The Empire Strikes Buttons

It’s been a busy few weeks here so not much blogging I’m afraid! But there has been some sewing – less than I would have liked but some is still better than none.

The most exciting project was a collaboration with my husband who has recently bought a 3D printer. I bought a selection of Star Wars fabric at Spotlight and wanted to make some pyjamas for my nephew for his birthday. My husband created and printed some custom buttons of the Imperial logo for the pyjamas.

IMG_0010.JPG

The pyjamas themselves are based on the same pattern as my previous posts but these are the summer version.

IMG_0008.JPG

I’m quite excited by the possibilities for more cool custom buttons and other things that are only limited by our imagination and our speed at learning the intricacies of 3D printing!

Michael’s First Fathers’ Day

Michael is a wonderful husband and father. He was already pretty amazing and then our daughter was born and I’m in awe of how natural he is as a father.

I really wanted something special for him for Father’s Day and I was already planning on making the Messenger Bag for him so decided to get my act together and make it for Father’s Day.

The vote came in at Star Wars being the appropriate nerd fabric to use on the bag. I ordered the storm trooper and Darth Vader fabric at Spoonflower and got plain black canvas at Spotlight. I chose blue quilting cotton for the lining and buckle flaps because it was an appropriate Star Wars colour. Of course, Spotlight brought out Star Wars themed fabrics the week before Father’s Day which would have saved me from having to order from Spoonflower but I guess that is life!

Once again, the cutting out took the longest time by far! Once all the cutting was done I had all the sewing finished in one night (after putting Baby Girl to bed, getting and eating dinner and before Baby Girl woke up for her next feed – so about 2.5 hours I guess).

IMG_0238.JPG

I added a little inscription to personalise it further.

IMG_0239.JPG

We gave it to him along with some books and framed photos of the little one and he has been using it since. Abigail thought it was very tasty!

IMG_0237.JPG

I am going to make him some matching accessories such as an iPad cover. I made one for his dad for the day but forgot to take photos!

Pyjamas for everyone!

I finished the pyjamas for my niece and for myself!

First of all, I’m really happy with the ones for my niece. I found the pattern really easy to follow and the fit was pretty much perfect. She seemed really happy with them – wearing them that night to a sleepover.

IMG_0229.JPG

By making a pair of pyjamas including a top meant that I learnt a few handy techniques which will come in handy in the future such as sewing a pocket, sewing a collar, buttons and buttonholes. I made a few mistakes in cutting them out initially – baby brain I think! Luckily I had enough fabric to cut out the back a second time and the interfacing for the collar which I had not cut on the fold.

IMG_0231.JPG

I have another pair for my other niece on order!

My pyjama pants were an opportunity to learn about sewing with knits and as an added bonus I learned how to add a yoke waistband and do ruching.

I think that the fabric may have been a little too stretchy for the pattern. I already made a size smaller than the sizing recommended on the pattern as it seemed too big but even then they are just a bit too loose. They are extremely comfy though and the fabric is so soft! My sister is therefore going to be the lucky recipient of these instead and I will make another pair either a size smaller or in different fabric.

IMG_0234.JPG

I wish I had these when I was pregnant. I will be making a few pairs next time around for sure!

I found the instructions fairly easy – except for the yoke and ruching bit which I had to start over as I folded it wrong the first time around. I don’t think they could have been too much clearer but eventually I experimented with some scraps and I wish I had done that initially so that I hadn’t wasted fabric.

I also did a rolled hem instead of a folded hem just for practice.

On both of these projects, the cutting out is really the time consuming thing. I wish there was a machine that could cut out my patterns… I will have to get my husband to invent one for me!

Pow, pow pyjama pants!

Week two at my sewing class has seen me finish off Michael’s pyjama pants. I seem to have cut way too much elastic so the waist band needs further adjustment but Michael has said that they are the most comfortable pyjama pants he has ever worn (yay flannelette!) and he wore them to pick up pizza the other night and people wanted to know where he got them from as the fabric is obviously suitably cool!

Here’s a photo of the finished product – guest starring Sushi Cat!

20140828-132848-48528072.jpg

The hems are quite untidy so I need to work on this somehow. Any hints on how to make my hems meet back up together are greatly appreciated!

Next is a pair of pyjamas including a top for my niece and then some in a stretch fabric for me!

First sewing lesson

When I bought my sewing machine a month or so ago, I enquired at the store about sewing lessons. The Janome Sewing Centre in Balcatta runs beginner classes on Friday and Saturday mornings for anyone with a Janome sewing machine. It costs $25 for the two hours and the premise of the class is merely that you bring your project along and Kathy will help you.

I asked for a suggestion for my first project and Pyjamas were recommended because they don’t need to be seen outside the house. Off I went to Spotlight to find a pattern and some fabric. I decided on flannel as a starting point because it is easy to sew with. Once I have mastered flannel, I will find some jersey cotton and do a second pair with that as I find that the most comfortable fabric for sleeping in.

There are some seriously hideous patterns for pyjamas in existence. I decided that I will just make pants for my husband as every full pattern I have found so far for men’s pyjamas was just too awful. I plan to then make some pyjamas for my nieces as practice for a top and pants. This way I should learn a few techniques such as waistbands, hems, collars, pockets and buttonholes.

I found some pretty cool flannelette and a very easy pyjama pants pattern, packed up my sewing machine and overlocker and reported to my sewing class.

Kathy introduced me to tracing fabric that you can put over a paper pattern, trace out your shape and then cut out so that you can keep your paper pattern intact and use it for other sizes later. She also introduced me to Frixion pens which can be used to mark your fabric as required and when you want to remove the texta, you just iron the fabric and it disappears! Pretty cool!

I cut out my pattern in the fabric I had bought and decided that I really like their tables. They are at the perfect height for pinning and cutting out!
20140819-000545-345288.jpg

I then learnt to overlock my fabric pieces and have so far sewn the two individual legs, complete with pocket. Next Saturday I will assemble the pants and commence my nieces’ pairs. I will get the kids pyjamas to the same point and have all the top pieces cut out and ready to be sewn.

20140819-000824-504541.jpg

Thanks must go to my husband for taking care of baby girl so that I can go to these classes. Of course she slept for the whole time for him, despite only giving me 45 mins during the daytime when I have her!

I got mail!

In my initial search for blogs and tutorials on how to sew, I stumbled across Tilly and the Buttons. This is a great blog with really clear, simple instructions and patterns. I really like her style which is vintage inspired.

Tilly has written a book called “Love at First Stitch” which goes through the absolute basics of sewing and includes small projects graduating in difficulty. If you purchase it direct from her website you get a signed copy.

Mine arrived in the post today and I am going to get working on something straight away!

20140815-211725-76645594.jpg

Dummy Clip

Preparing myself for opinions about parenthood as I write this… Here goes!

My daughter is 4 months old and when she is really upset or I am settling her to sleep, nothing will calm her like a dummy. She instantly relaxes once she starts sucking on something and to ensure that I can get more than arms length away from her throughout the day to do such things as shower and use the bathroom, I substituted my finger for a dummy pretty early on.

When she doesn’t want it, however, she really doesn’t want it. The other night I awoke at 2am to the sound of it thumping on the floor as she threw it out of the cot.

I quickly built up a stash of dummies so that as one was thrown fell on the floor, I could quickly have another at hand. I found a little clip at the local supermarket that had a ribbon and some Velcro for holding the dummy and this has become my lifesaver and prevented our entire disposable income being spent on dummies but the clip is pretty ugly…

At the baby expo on the weekend I saw one stall selling dummy clips that used suspender clips and I thought “I could make that”. So off to Spotlight I went this morning and I discovered that they sold suspender clips! I started another project which meant that I had some scrap fabric and my husband has been working on a little project of his own which meant that he purchased a serious quantity of plastic press studs from eBay.

This is the result!

20140814-212354-77034075.jpg

I think I will make a few in different colour schemes so that they can match baby girl’s outfits each day.

20140814-212607-77167512.jpg

20140814-212628-77188398.jpg

A geeky satchel

My next bag project is going to be “Melly’s Messenger Bag” for my husband.
It looks like this will fit his essential items that he takes to work each day into it pretty well – namely, his iPad.

20140812-215645-79005578.jpg

Even though my husband is not averse to hot pink, I would love to use a fabric that is something a bit more unique and appropriate to him. Being an IT consultant with a science degree and a love of science fiction, I have been looking for appropriately geeky fabric to use on this bag.

I have found this great site called Spoonflower which will create fabric for you and that I can choose from other people’s designs! There is actually a “Geek” category on the site. The problem I am having is that I can’t decide which to go with!

Help me out here, dear readers! I put it to your vote.

Should I go with Dr Who, Star Wars, StarTrek, Lego or Tetris?

Comment a link to any particular designs that stand out to you that I should consider. It needs to be a home decor weight fabric like canvas.

My first bag

You may remember that I purchased “Sew Cute to Carry” at the WA Craft Fair a few weeks ago. I had great fun heading to the Spotlight sale the following weekend when they had 40% off all fabric and I bought all that I needed to make my first bag.

All of the patterns in the book rated for their simplicity or lack thereof. Having learnt my lesson from high school sewing class, I chose one of the simplest in the book to start off with. It’s called the “Shopaholic Shopper”.

20140812-211116-76276361.jpg

I found this Parisian themed red fabric at Spotlight so I then decided to stay with the French theme and have navy and white stripes instead of the yellow and red pattern. I chose canvas as my fabric as it should give the bag some strength.

20140812-211314-76394479.jpg

The bag pattern called for the taupe pattern fabric to be used as the bag lining but I really like bag linings to be made of light colours so that you can see what is inside. There is nothing worse than black bag lining when you have a black wallet, black phone case, black glasses case and so on and so forth! I was devastated when Oroton changed their bag linings from cream to brown. For this reason, I decided to make my lining from more white canvas instead of the red Parisian print. It also seemed a waste of the nice red fabric!

I found making this bag to be relatively easy. I used baking paper to trace the pattern out of the book and then made a more permanent pattern out of calico. Then I did all my cutting out.

20140812-212237-76957269.jpg

20140812-212313-76993043.jpg

20140812-212334-77014447.jpg

Then I simply constructed it as per the instructions and it started to look like it was supposed to pretty quickly! Excuse me in the photo – I do all my sewing after baby girl goes to bed each night so pyjamas are the order of the day!

20140812-213735-77855748.jpg

As you can see, I had some assistance from Sushi!

20140812-211740-76660713.jpg

I am almost finished but I bought polyester webbing instead of cotton as Spotlight didn’t have any cotton webbing in stock. Now that I have seen my almost finished product, I just can’t use the polyester webbing as it doesn’t feel right with the cotton canvas. I have ordered some cotton webbing from eBay so I will wait until it comes to finish the bag but here is where I am currently at.

20140812-213037-77437548.jpg

Lessons learned from this project:

My top stitching is quite wobbly – I will be googling to find out the secret for sewing in a straight line.
I love my walking foot! A walking foot is something originally used for quilting but these days is often used for thick or difficult fabric. I had multiple layers and a fleece interface and it made sewing through that a breeze.
I really enjoyed making this!