Michael’s First Fathers’ Day

Michael is a wonderful husband and father. He was already pretty amazing and then our daughter was born and I’m in awe of how natural he is as a father.

I really wanted something special for him for Father’s Day and I was already planning on making the Messenger Bag for him so decided to get my act together and make it for Father’s Day.

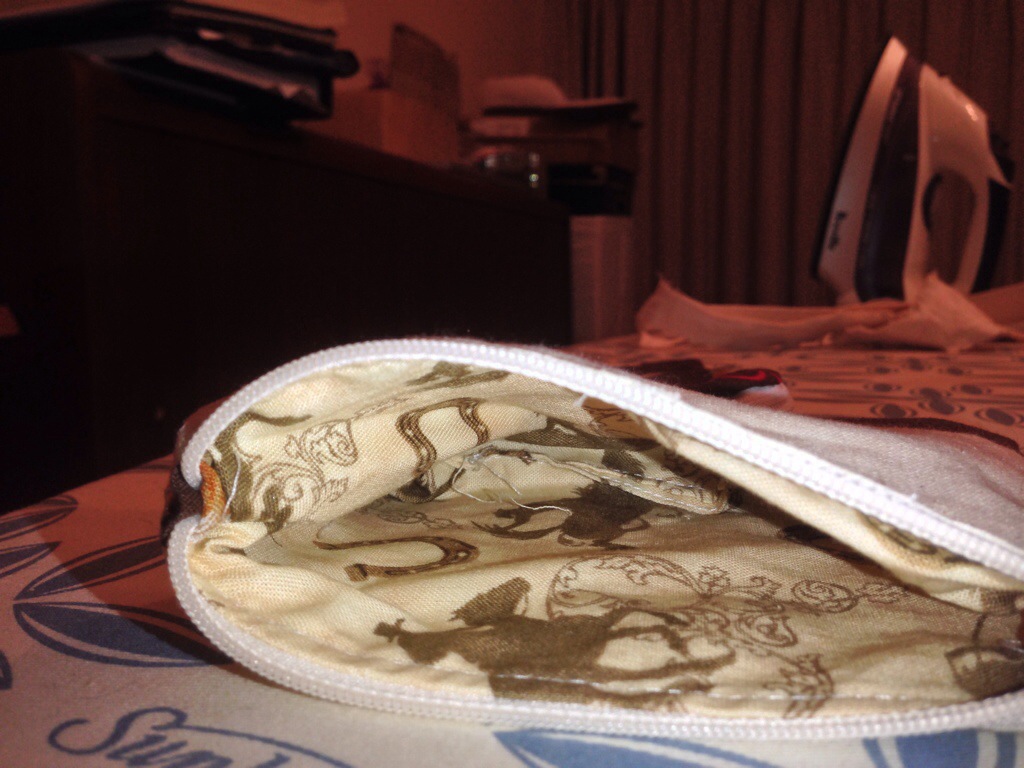
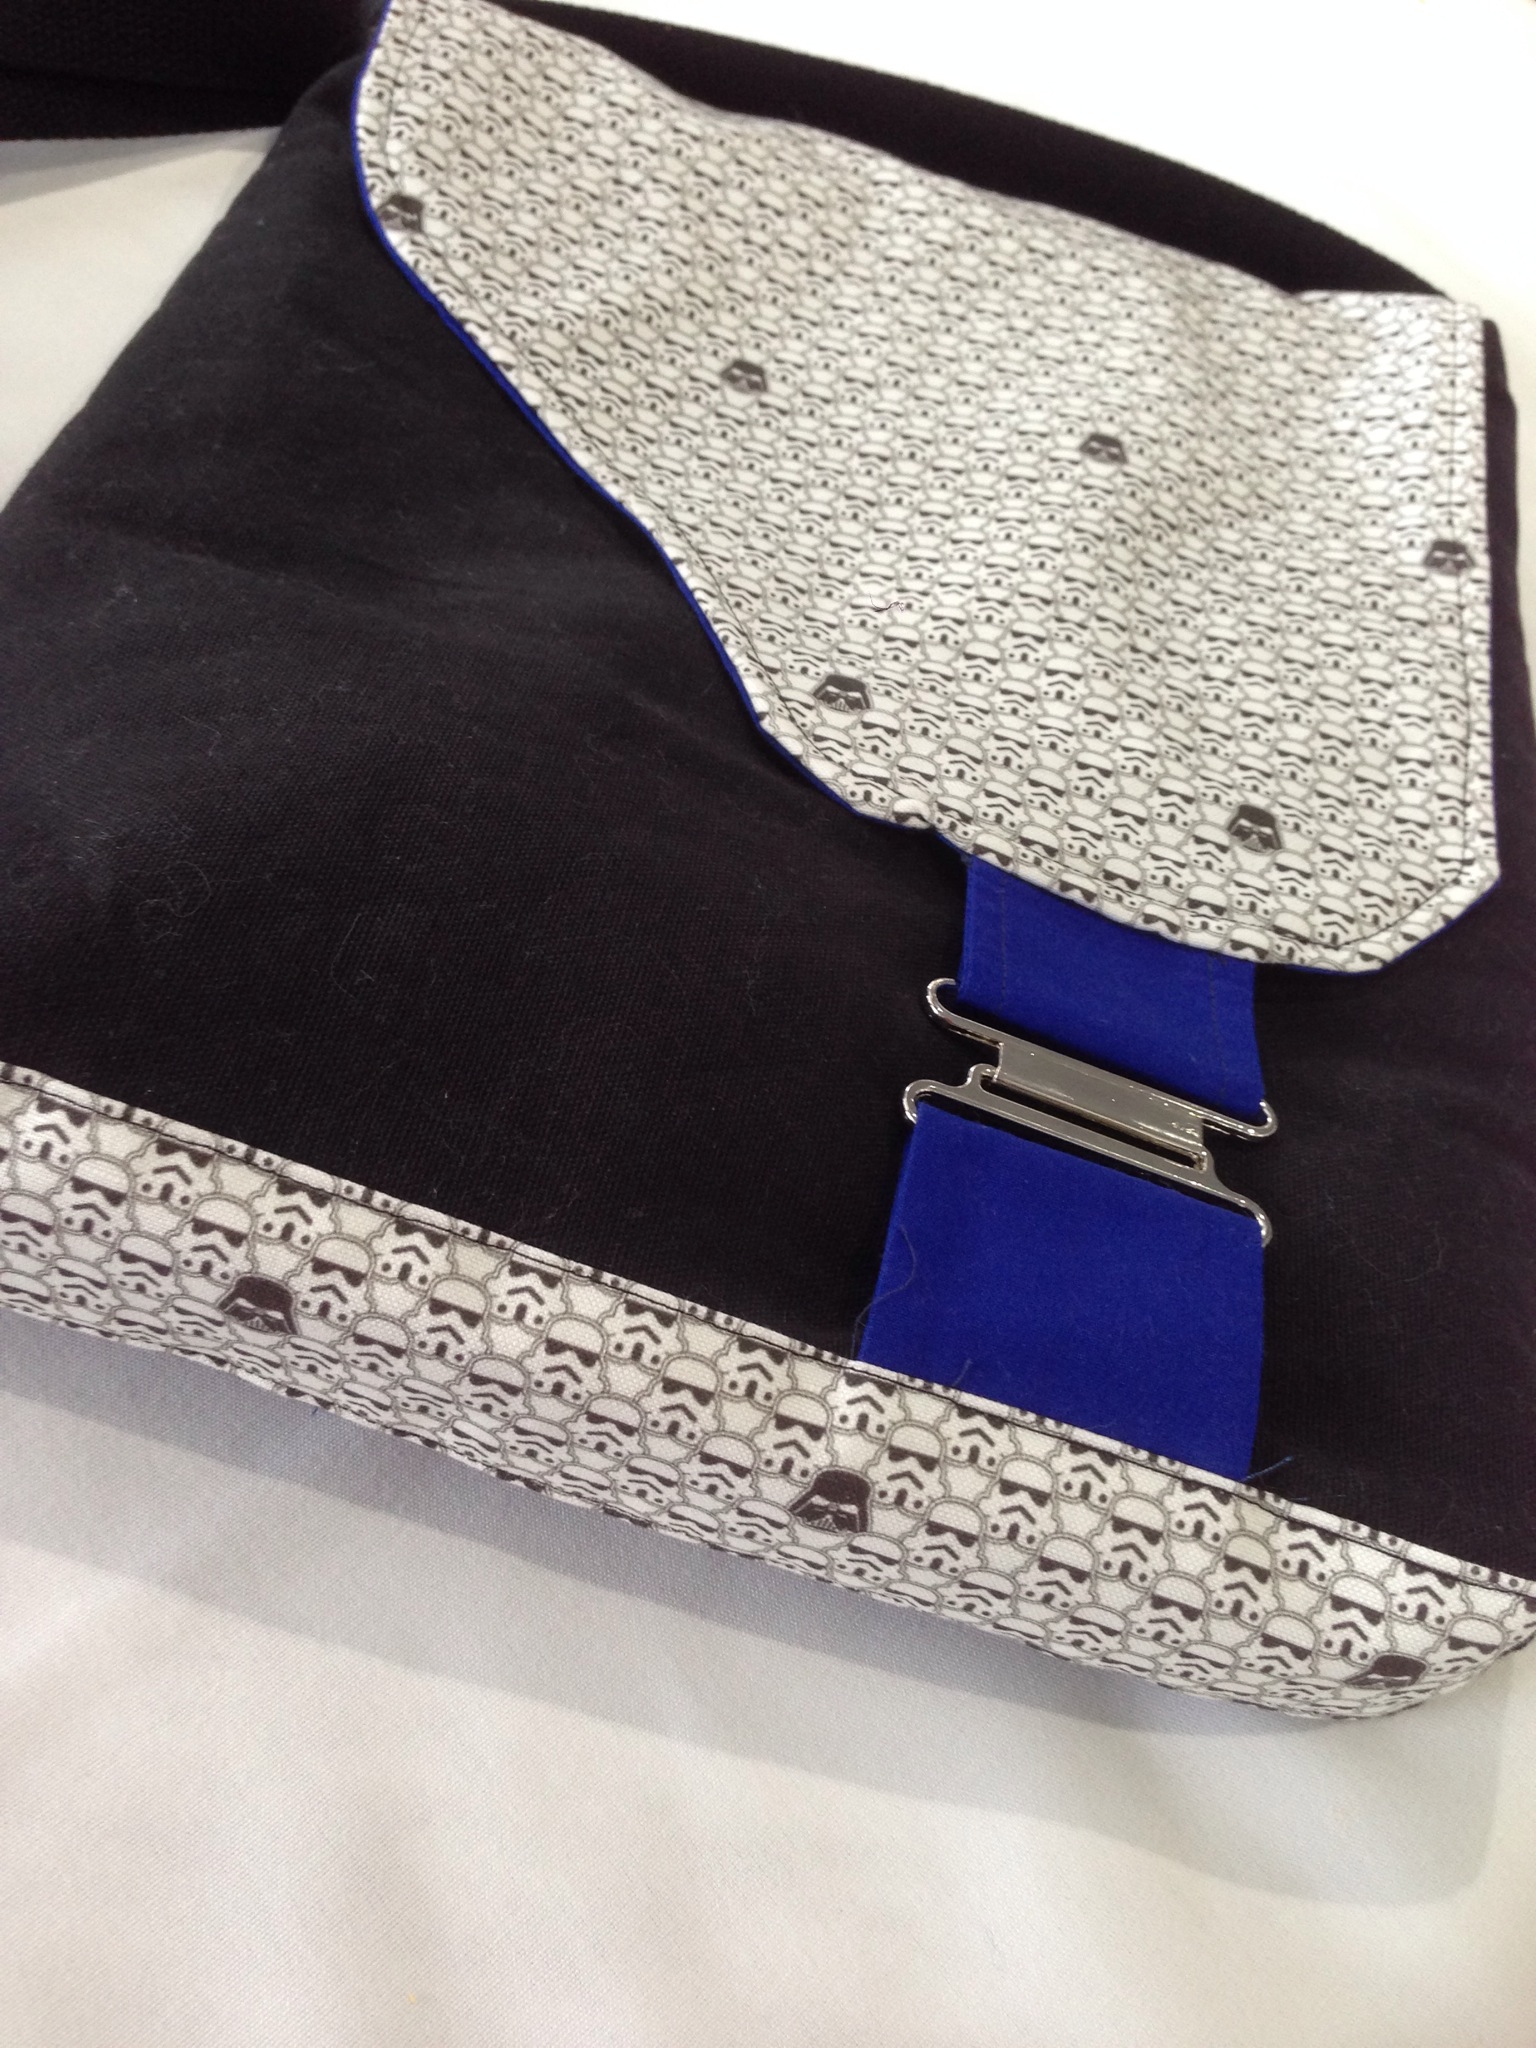
The vote came in at Star Wars being the appropriate nerd fabric to use on the bag. I ordered the storm trooper and Darth Vader fabric at Spoonflower and got plain black canvas at Spotlight. I chose blue quilting cotton for the lining and buckle flaps because it was an appropriate Star Wars colour. Of course, Spotlight brought out Star Wars themed fabrics the week before Father’s Day which would have saved me from having to order from Spoonflower but I guess that is life!

Once again, the cutting out took the longest time by far! Once all the cutting was done I had all the sewing finished in one night (after putting Baby Girl to bed, getting and eating dinner and before Baby Girl woke up for her next feed – so about 2.5 hours I guess).

IMG_0238.JPG

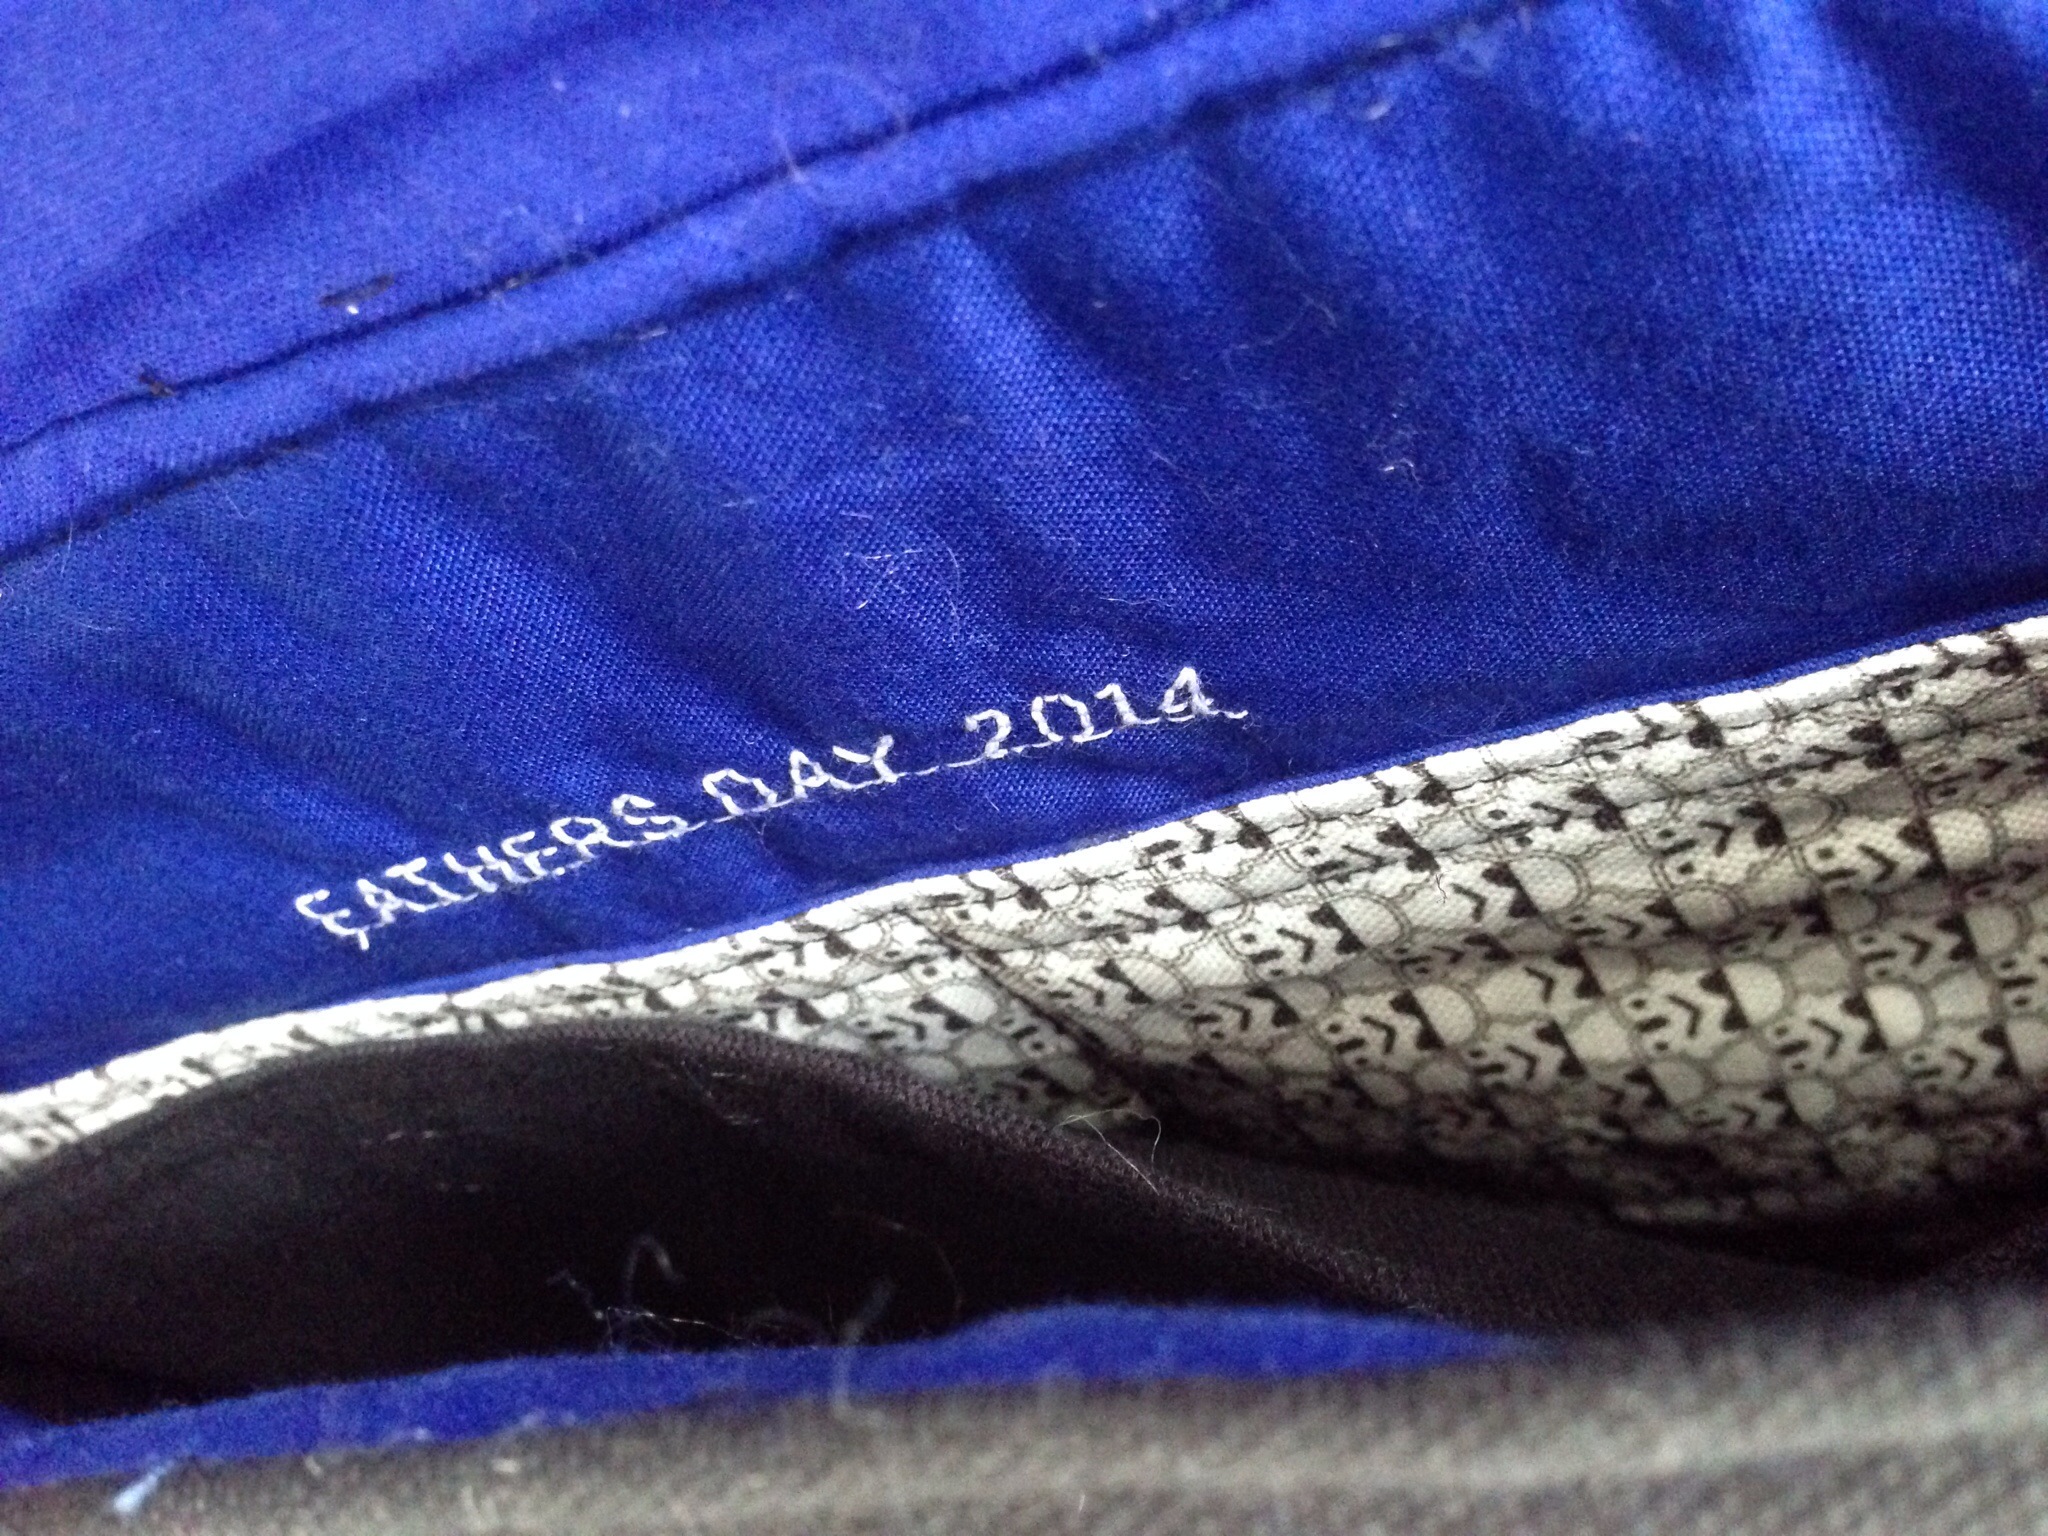
I added a little inscription to personalise it further.

IMG_0239.JPG

We gave it to him along with some books and framed photos of the little one and he has been using it since. Abigail thought it was very tasty!

IMG_0237.JPG

I am going to make him some matching accessories such as an iPad cover. I made one for his dad for the day but forgot to take photos!

Pyjamas for everyone!

I finished the pyjamas for my niece and for myself!

First of all, I’m really happy with the ones for my niece. I found the pattern really easy to follow and the fit was pretty much perfect. She seemed really happy with them – wearing them that night to a sleepover.

IMG_0229.JPG

By making a pair of pyjamas including a top meant that I learnt a few handy techniques which will come in handy in the future such as sewing a pocket, sewing a collar, buttons and buttonholes. I made a few mistakes in cutting them out initially – baby brain I think! Luckily I had enough fabric to cut out the back a second time and the interfacing for the collar which I had not cut on the fold.

IMG_0231.JPG

I have another pair for my other niece on order!

My pyjama pants were an opportunity to learn about sewing with knits and as an added bonus I learned how to add a yoke waistband and do ruching.

I think that the fabric may have been a little too stretchy for the pattern. I already made a size smaller than the sizing recommended on the pattern as it seemed too big but even then they are just a bit too loose. They are extremely comfy though and the fabric is so soft! My sister is therefore going to be the lucky recipient of these instead and I will make another pair either a size smaller or in different fabric.

IMG_0234.JPG

I wish I had these when I was pregnant. I will be making a few pairs next time around for sure!

I found the instructions fairly easy – except for the yoke and ruching bit which I had to start over as I folded it wrong the first time around. I don’t think they could have been too much clearer but eventually I experimented with some scraps and I wish I had done that initially so that I hadn’t wasted fabric.

I also did a rolled hem instead of a folded hem just for practice.

On both of these projects, the cutting out is really the time consuming thing. I wish there was a machine that could cut out my patterns… I will have to get my husband to invent one for me!

Pow, pow pyjama pants!

Week two at my sewing class has seen me finish off Michael’s pyjama pants. I seem to have cut way too much elastic so the waist band needs further adjustment but Michael has said that they are the most comfortable pyjama pants he has ever worn (yay flannelette!) and he wore them to pick up pizza the other night and people wanted to know where he got them from as the fabric is obviously suitably cool!

Here’s a photo of the finished product – guest starring Sushi Cat!

20140828-132848-48528072.jpg

The hems are quite untidy so I need to work on this somehow. Any hints on how to make my hems meet back up together are greatly appreciated!

Next is a pair of pyjamas including a top for my niece and then some in a stretch fabric for me!

Proper attire for a tuxedo cat

I fear that I may be about to peak on this blog and it is only my sixth post… Having managed the calico bow tie with some level of success, I asked my husband to choose from my fat quarters. For the non-sewers out there, these are small cuts of fabric – usually a quarter of a meter or so – sold pre-cut so you don’t have to spend a lot per meter if you only need little bits of fabric. Given that our first children were fur children, it was no surprise that he chose the fabric with cats printed on it. 20140803-220822-79702111.jpg  20140803-220820-79700209.jpg

A cat bow tie. Wait a minute… A CAT BOW TIE! One of our cats is a tuxedo cat and we have always said he needs a bow tie. So… Cat bow ties had to be made immediately! We have everything blue and red for our boys so that we can tell what belongs to who (with regards food bowls, harnesses for walking etc…) so it was fitting that they had blue and red ties made respectively.20140803-221537-80137954.jpg

I followed a tutorial at Instructables but modified it a little using the information gained from making the bow ties for my husband. Sushi and Theodore already wear collars so I skipped that step and I added interfacing to give the ties a bit of structure but otherwise I largely followed the tutorial. 20140803-221536-80136642.jpg  20140803-221539-80139550.jpg

It would be great if my cats sat still long enough to tie a real bow tie on them but I think this is a pretty good substitute. From here, Theodore, the tuxedo cat, must have a black silk one made for black tie events – it’s only proper!

Real Bow Ties

20140801-210236-75756539.jpg

Nearly three years ago, I met the most amazing man when I was walking to the bus station. We started talking about the book I was reading and have been together ever since! My husband likes to dress up – even for every day things and he can pull off some looks that other guys can’t because he is 6’4″ and no one would dare mess with him.

He takes pride in dressing properly and for him, that means that a bow tie, braces and a three piece suit are the only appropriate attire for an office job. Shortly after we met, I introduced him to “real” bow ties – the ones you have to tie yourself. He was hooked! But it is a struggle to find them in the shops as most people opt for the pre-tied variety these days.

I found a tutorial at Sew Like My Mom for real bow ties and just had to try it out!

I decided to make it from calico as a first time just to test the pattern out and make sure the length was correct for my husband. Lucky that I did as I had to start from scratch after learning a pretty big lesson!

1. The markings on the plate at the bottom of my sewing machine tell me what size seam I need. What I had thought was a “1/4 inch seam” was actually a 1/2 inch. When I studied my sewing machine properly, I noticed that there are markings on the plastic and if you line them up, you can’t go wrong! It is actually the one between 1/8 inch and 3/8 inch on the feed dog (a feed dog being that bit of the machine which the fabric is fed through).

20140801-202606-73566439.jpg

Take a look at the difference between my seams and those at Sew Like My Mom – mine is the bottom.

20140801-204206-74526323.jpg

This meant that when I tried to push the bow tie through the right way around, it got stuck and because I had cut the curves, I had to start again from scratch.

2. I’ve forgotten how to hand stitch neatly. Mental note to look this up for the real project!

Well, here is the finished product on my lovely husband.

20140801-204922-74962481.jpg

Guess what all the men I know are getting for Christmas?


Zipping around the corner

One of my long term projects is going to require that I can sew a zip around the perimeter of some fabric. How on earth do I make something straight go around a corner?

Back to the internet!

I found this very helpful tutorial from Stitchy which teaches about curved zippers. I made up my own dimensions to use up more scrap fabric but I think that the design would work well for a device cover so I might measure up my ipad for one!

Lessons learnt:

1. Even though this was a bit harder, it didn’t take as long as my plain zip pouch. Already I am getting better at cutting, sewing and reading patterns because I am starting to understand terminology etc… Yay! Achieving something gives me confidence to keep trying!

2. Use lots of pins around the corner!

3. Keep the side of the fabric you are not sewing out of the way of the bit you are sewing so that you don’t accidentally sew them together!!! More unpicking….

Next time I make this I am going to add some batting, interfacing and a softer internal fabric to make it more protective for a device or a pair of glasses!

20140801-150301-54181297.jpg

20140801-150259-54179974.jpg

First stitch – simple zipper pouch

As a new mummy, there are a million and one products out there that every new mum seems to desperately “need” (according to the advertisers that is) and yet, I still find that there are things that I have from my own childhood that I don’t seem to be able to find anywhere. Necessity being the mother of all invention, I decided that I need to learn how to sew in order to be able to make some of the things I want.

After discussion with my husband about the types of things I want to make eventually, we agreed that we could access some of our rainy day funds to buy a pretty nice machine that should do me for a long time to come. The machine comes with lessons but I can’t wait until then to test out the new machine. IT consultant that I am, I turned to the internet for some sewing tutorials. I wanted something that I could make without a pattern and with just some scraps of fabric and notions that I picked up to just mess around with.

I came across this tutorial from Sew Minty to create zipper pouches.

My journey into sewing nearly got abandoned before I began when I realised that I had to get the iron out of hibernation. We moved into our house in December and it hasn’t been set up once. I buy my husband the non-iron business shirts because I really do not enjoy ironing one bit. Given I had spent a not insignificant sum on my fancy sewing machine though, I sucked it up and got the iron and ironing board out of the laundry.

I’m not going to recreate that tutorial step by step as that is silly when the tutorial is so good already. I’m just going to show you my finished product and tell you the lessons I have learned!

1. Sewing requires a lot of attention to detail. This is something I am not naturally blessed with but I am looking forward to my sewing journey helping me to learn to pay attention to some of the little things to slow down and to take time to get things just right as it will be worth it in the end.

2. Pay attention to the right side/wrong side of fabrics and what side you are sewing a seam on to prevent numerous unpicking attempts! I ended up with my seam on the outside of my zip – see point 1 regarding attention to detail!

3. I am still not too sure why my zip tabs have not lined up properly. Potentially my seam allowance. More details on seam allowances in a later post!

So tell me what you think! Where to from here?

20140801-131005-47405606.jpg

20140801-131003-47403957.jpg